-
What should I need to know about print areas?
Understanding print areas is essential for creating high-quality products on Spreadconnect. This guide explains how print areas work, tips for proper design placement, and common mistakes to avoid.
What is a Print Area?
A product’s print area refers to the part of the clothing or accessory that can be printed on. In the Design Tool, you will see a square (either black or white) representing this area. All designs and text must fit within this square to be printable.
- Red Design Frame: Indicates the design cannot be printed. Drag the design into the print area to correct this.
- Green Design Frame: Indicates the design is properly positioned and ready for printing.
Tips for Design Placement
-
Larger Designs Work Best on the Front:
Use the center of the shirt’s front for larger designs. A center aid line will appear to help you align the design correctly.
-
Smaller Designs for Chest Placement:
Logos or smaller designs look great on the left or right chest. Ensure they are not placed too close to the armpit—a general rule is to stay within a third of the shirt’s width. -
Avoid Seams and Zippers:
Designs placed over seams, zippers, or edges of the print area cannot be printed. While the Design Tool may allow it, the order will not process if the design is in these areas.
Use Contrasting Colors
For optimal visibility:
-
Avoid Similar Colors: For example, a dark design on a dark product or a bright design on a bright product will reduce visibility.
-
Use Contrasting Colors: Pair dark designs with light products and vice versa for the best results.
Adjust Design Size Based on Product Size
The Design Tool displays products in a standard size (e.g., Medium). Be aware that design dimensions won’t automatically adjust for smaller or larger sizes.
-
For larger products (e.g., aprons or pillows), increase the design size to prevent it from appearing too small.
-
Check the design’s visual proportion relative to the product to ensure it fits appropriately.
-
How do I create embroidery designs for my store?
Embroidery designs are classy, extremely hard-wearing, and can be added to your account in just a few clicks. With embroidery, real threads are sewn into the fabric, creating a high-quality and highly-durable finish.
Why do I need an embroidery file?
Our embroidery machines can weave up to four different colors of thread. To make the most of your embroidery design, it can be composed of up to four different lines: the yarns. These lines also need a clearly defined starting and end point, which must be stored in special embroidery files created by highly skilled personnel. For this service we charge €4.99 per design, which includes testing your file on different materials.
What do I have to consider when creating my graphic file?
To convert your design into an embroidery file ready for production, your file must meet the following requirements:
- We can only process vector files (max. 10MB, *.eps, *.svg, *.ai)
- All objects need to be created in closed paths
- No gradients, backgrounds or patterns
- Maximum 4 colors from a set palette
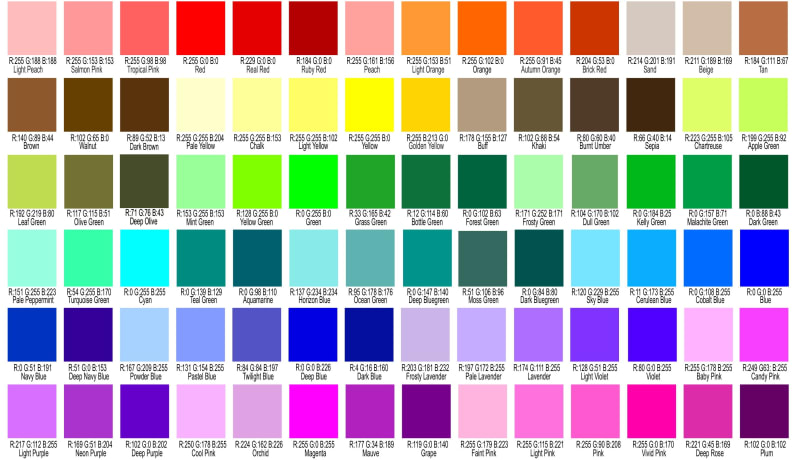
You can find the exact color codes of our yarns here: Black (#25282A), White (#E5E1E6), Red (#E03C31), Yellow Gold (#F6BE00), Light Gray (#B2B4B2), Dark Gray (#63666A), Light Blue (#71C5E8), Royal Blue (#004B87), Navy (#002855), Orange (#F68D2E), Green (#006F44), Neon Green (#97D700), Dark Pink (#F59BBB), Light Pink (#DB0A5B), Purple (#330072), Turquoise (#00A7B5), Brown (#A76D11), Beige (#D7C4B7), Dark Red (#A6093D)
The size of our embroidery area (and therefore the maximum size for your design) is 8x5cm (3.1 x 1.9in) – all the following requirements must be met to let your designs scale properly:
- a minimum line thickness/element size of 2mm/ 5.7pt
- a minimum height of text and letters of 8mm/ 22.7pt
- filled areas should not be larger than 8x2cm (3,1 x 0,7in)
- contours should not be larger than 8x2cm (3,1 x 0,7in)
- avoid carved font outlines
How do I order my embroidery file?
Log in to your Spreadconnect App and go to the add product section. There you can upload your vector file to be converted to an embroidery design. Make sure you have added a payment method in your settings. Once your order has been placed, you will receive a confirmation email. In case of any issues, we will get in touch with you.
How long does it take to create an embroidery file?
Converting the file into an embroidery format and completing the testing process can take up to 8 to 10 working days (business days). After that, the embroidery design will be available in your product section where you also see all your other designs and products.
How do I create products with embroidery designs?
Once your design is ready to use, it will appear in your design gallery with a specific flag. We deactivated the option to delete the file for embroidery designs so it can’t be deleted by accident. You will also see a specific tag to filter for product types which are available for embroidery.
Choose your embroidery design, select a suitable product for embroidery, position your design like normal, and publish it to your sales channel. That’s it!
-
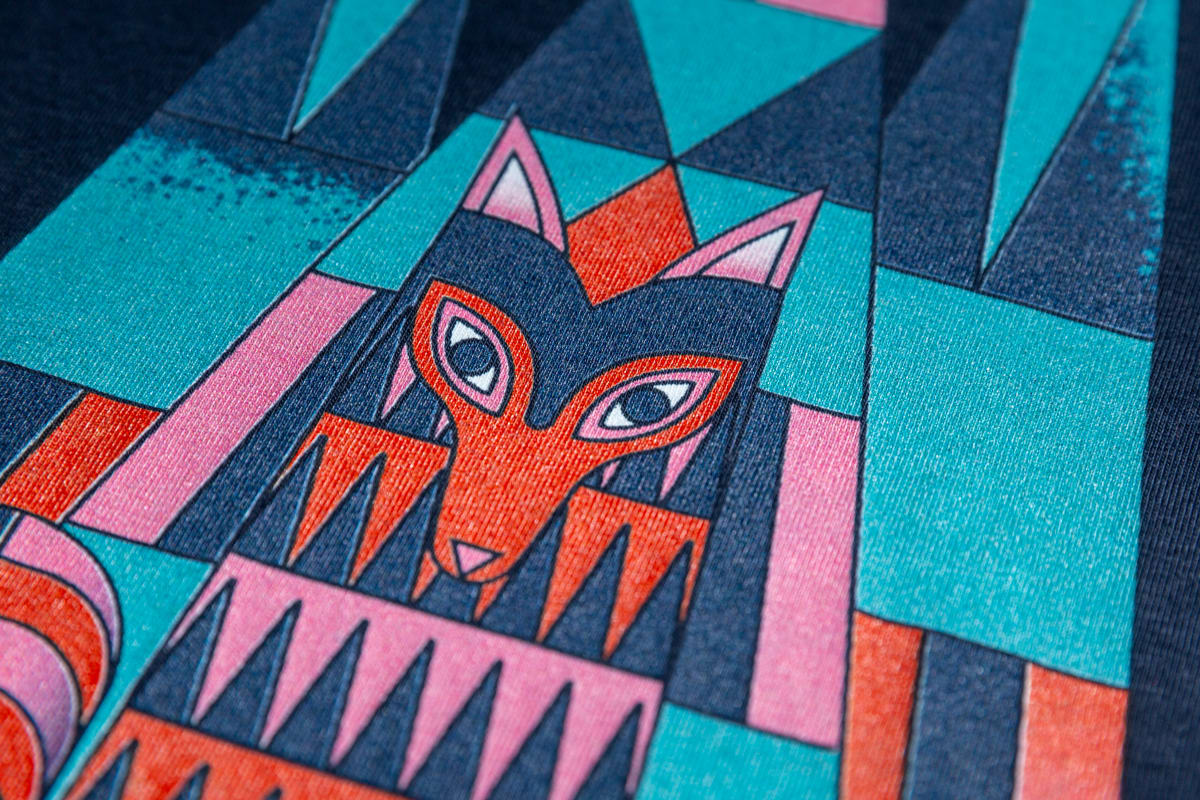
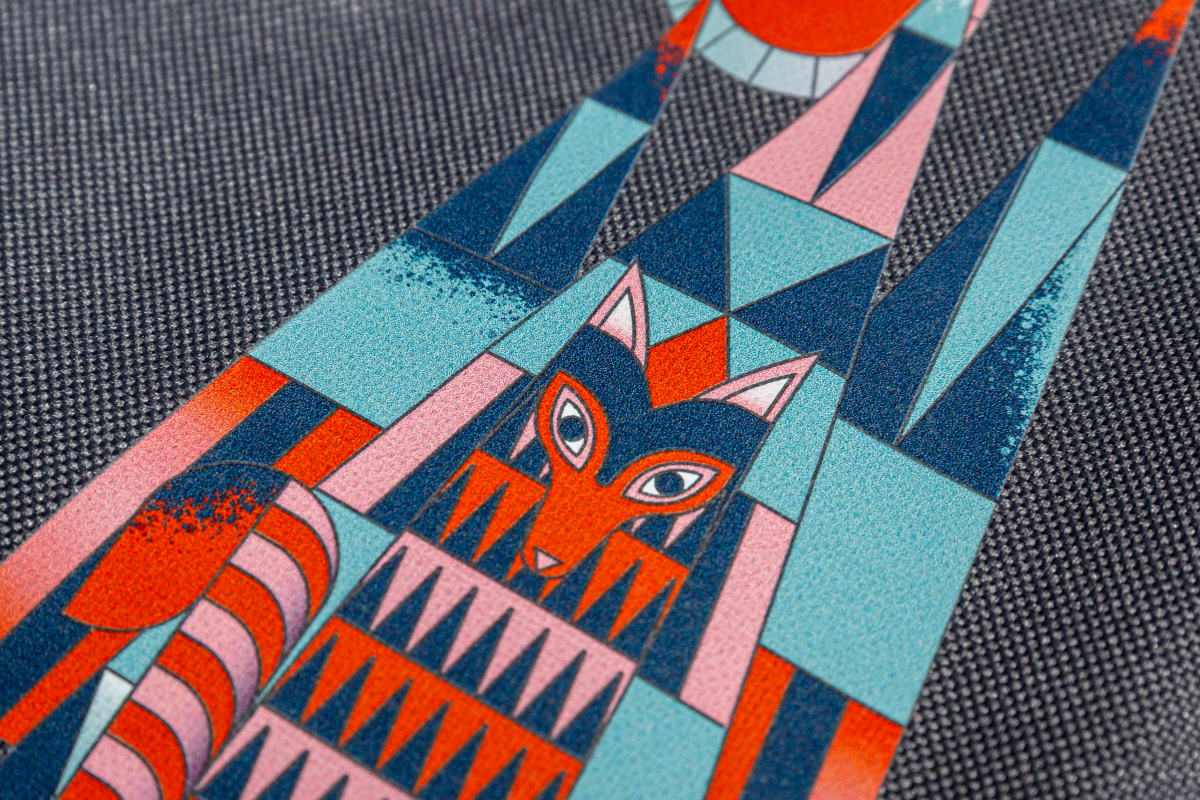
What are Spreadconnect’s printing techniques?
At Spreadconnect, we use several printing techniques to ensure high-quality, vibrant, and durable designs for your products. Below is an overview of the available printing methods, their key features, and requirements to help you make informed decisions for your merchandise. Make sure to keep the print file requirements in mind when deciding on a printing technique.
Please note: Print on Demand is a manual process, the designs are placed on the products by actual people who are always trying their best to realise the placement of the design on the product as it is ordered. However, positioning might still vary slightly from the screen preview or from other products. If in doubt, feel free to contact us for further details.
Printing Techniques
Digital Direct (DTG - Direct-to-Garment)
Digital Direct is Spreadconnect's default printing method. This computer-controlled process sprays colors directly onto the product.
Key Features:
- Compatible with all file formats.
- Produces vivid, high-quality print results.
- Leaves a smooth design surface.
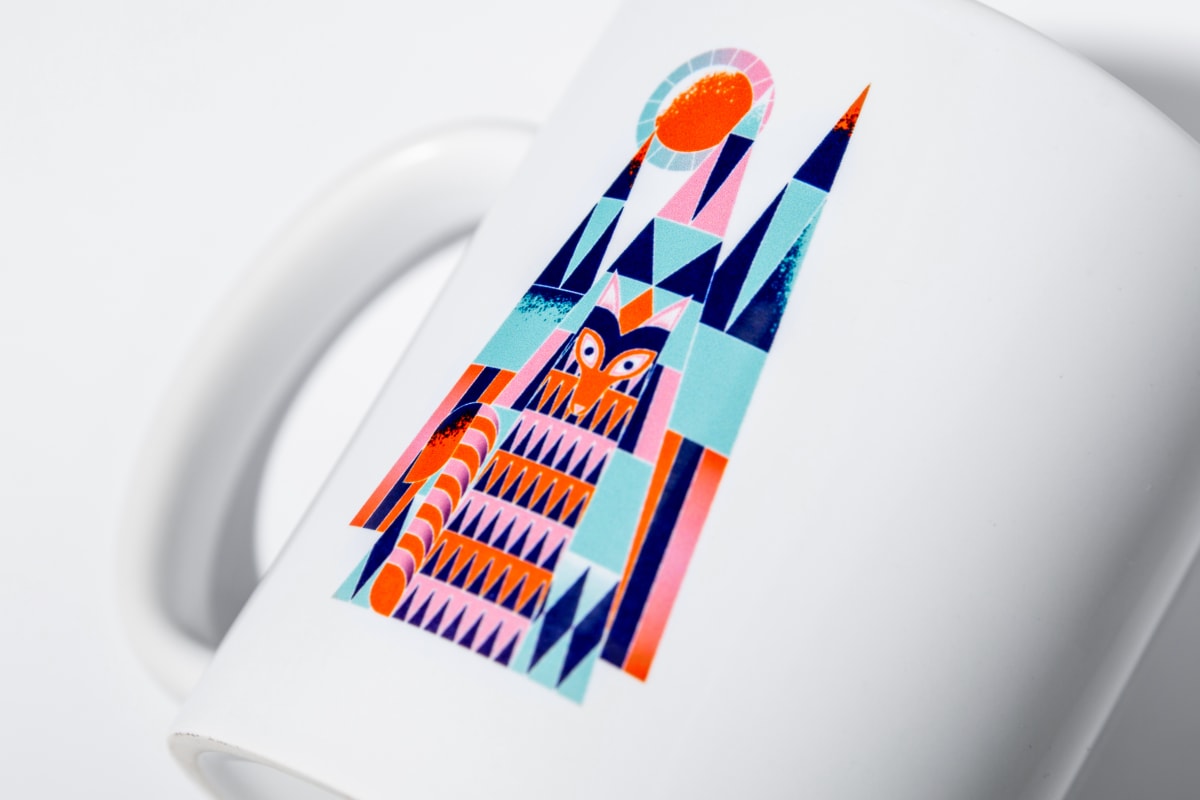
Thermo Sublimation
Ideal for accessories such as mugs and phone cases, this method involves printing the design on a transfer foil, which is then thermally evaporated onto the product.
Key Features:
- Compatible with all file formats.
- Minimum resolution requirement: 400 dpi for pixel graphics.
- Mainly used for mugs and phone cases.
- Produces a colorized product surface.
Direct-to-Film: Transfer Printing
With Direct-to-Film printing, the design is digitally printed onto a carrier film and heat-pressed onto the product. This method is perfect for intricate designs requiring true and lasting colors.
Key Features:
- Compatible with all file formats.
- Produces brilliant, vivid prints.
- Leaves a smooth design surface.
Digital Transfer/Laser Transfer
This method involves printing the design onto transfer foil and then applying it to the product using heat. Transparent foils are used for white products, while white foils are used for colored products.
Key Features:
- Compatible with all file formats.
- Commonly used for accessories like bags and caps.
Plot Printing Methods
Plot printing techniques offer unique textures and special effects. Note that an additional fee of $2.50/2,50€ is applied for all plot print methods. This fee applies to Flex Printing, Flock Printing and Special Flex Printing.
Flex Printing
In Flex printing, designs are printed onto matte foil and heat-pressed onto the product.
Requirements:
- The design must be in a vector graphics file.
- Limited to a maximum of three colors.
- Best suited for text and smaller designs (e.g., logos).
Key Features:
- Leaves a smooth design surface.
Flock Printing
Flock printing cuts designs out of velvety foil, which is then heat-pressed onto the product.
Requirements:
- The design must be in a vector graphics file.
- Limited to a maximum of three colors.
Key Features:
- Leaves a velvety texture.
Special Flex Printing
Special Flex printing uses a similar process to Flex printing but utilizes specialty foils like glitter or glow-in-the-dark.
Requirements:
- The design must be in a vector graphics file.
- Limited to one color per design.
- Ideal for text and simple designs.
Quality Assurance
To ensure the durability and quality of our prints, all products undergo rigorous testing, including a cycle of 10 washes to confirm color retention and realistic reproduction. Only products that meet our high standards are added to the Spreadconnect catalog.
-
Why do printed colors differ from your screen?
Printed colors may differ from how they appear on your monitor due to these reasons:
- RGB to CMYK Conversion: Printing converts RGB (screen colors) to CMYK (print colors), causing slight color shifts.
- Screen Display Variations: Monitor settings like brightness, contrast, and saturation affect how colors appear.
- Fabric Color Impact: Base fabric color influences the print result. Designs are more vivid on white fabric and may look muted on darker fabrics.
To improve color accuracy, use CMYK for designs, consider fabric colors, and request a color proof before printing.
Color Chart (Kornit)
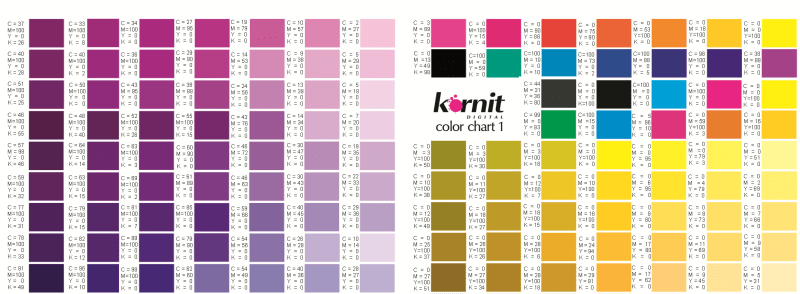
The print result on white, black, and red fabrics (Kornit)

Color Chart (Brother)
The print result on white, black, and red fabrics (Brother)

-
How do I select the print method?
This guide highlights key facts about selecting the best print method for your design, ensuring optimal results for your product.
Why the Right Print Method Matters
Selecting the right print method ensures your design stands out. Here are some general tips:
-
Flex Print (Smooth): Ideal for designs with 1-5 solid colors and works best on breathable fabrics like the Moisture-Wicking Performance T-Shirt.
-
Digital-Direct Printing: Perfect for pixel graphics (e.g., .png, .jpg) with many colors.
-
Thermal Sublimation: Used for specialty products like mugs.
Tip: Only designs with up to 5 colors can be printed. Certain print methods may not be available based on the product type.
Step 1: Upload Your Design
-
Choose a Product: Start by selecting the product you want to customize.
-
Upload Your Design: Use a supported file format (.png, .jpg, etc.).
Step 2: Select a Print Method
Once your design is uploaded, you can choose a print method:
-
Locate the Print Method Selector: This option appears just above the product’s color selection menu.
-
Choose Your Method: Click the drop-down arrow to view available print methods. If a method isn’t shown, it’s not compatible with your design or the product.
Note: A design with many colors may not support Flex Print but will be compatible with Digital-Direct.
Step 3: Adjust Design Colors
After selecting a print method, customize your design colors:
-
Choose the Design Color: Ensure your design contrasts well with the product color.
-
Background Colors (if applicable): If your design has a background, select a color separately for the background and the design print.
Special Options: Certain methods, like Special Flex Print, offer unique colors such as "glow in the dark." These won’t be available for methods like Digital-Direct.
Step 4: Finalize Your Selections
Once you've:
-
Chosen a product,
-
Uploaded your design,
-
Selected a print method, and
-
Adjusted design colors,
…you’re ready to proceed! Click the Next button to complete your setup.
-