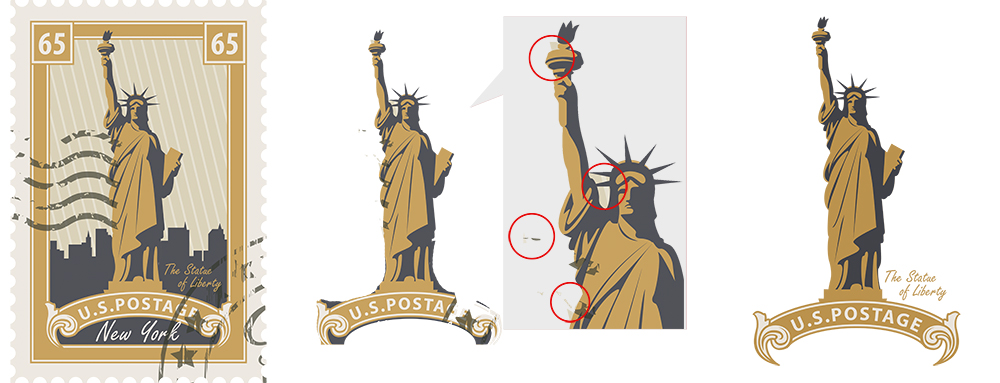
Pixel designs, or raster graphics, are images composed of small units called pixels, arranged in a grid. These designs are widely used for printing on textiles and other materials due to their ability to represent detailed photos, illustrations, and color gradients. To ensure the best results when printing with Spreadconnect, understanding how pixel designs work and how to optimize them is crucial.
What Are Pixel Designs?
Pixel designs are multicolored images made up of individual pixels (picture elements). Each pixel contains specific color information, and together, these pixels form the complete image. Here's what you need to know:
- Best Uses: Suitable for photos, detailed designs, illustrations, and gradients.
- Print Methods Supported: Digital printing, laser transfer, thermal sublimation.
- Resolution: The clarity of the design is determined by its resolution, measured in dpi (dots per inch). Spreadconnect recommends a resolution of 200 dpi means 200 pixels per inch (= 2.54 cm).
How to Optimize Pixel Graphics for Printing?
1. Recommended DPI: 200 dpi for best results. For example:
- A graphic 1000 pixels wide will print as 5 inches wide (at 200 dpi).
- A graphic 2000 pixels wide will print as 10 inches wide.
2. Avoid Loss of Quality: Low-resolution designs (e.g., 800 x 600 pixels) become blurry when enlarged. Upload images with sufficient resolution and pixels.
3. File Size and Format
- Maximum recommended resolution: 4000 x 4000 pixels to stay within the 10 MB file size limit.
- Supported formats: PNG, JPG, GIF, BMP.
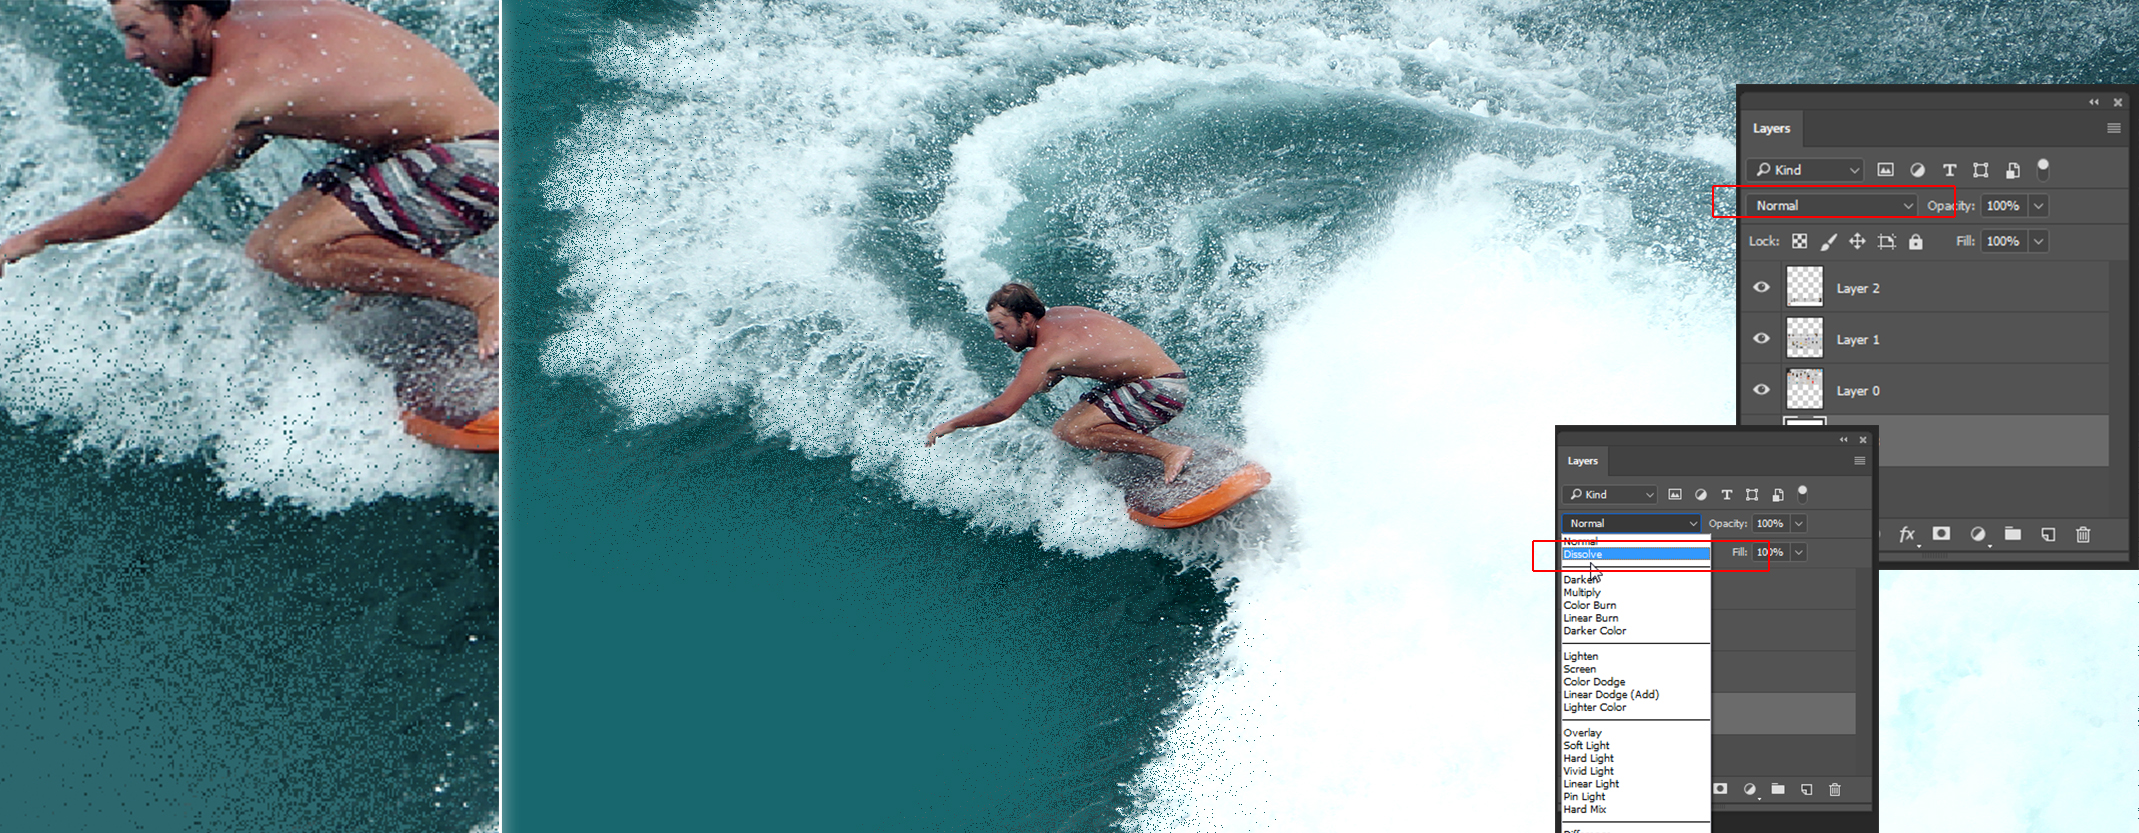
How to Remove Backgrounds from Pixel Designs?
When printing, unwanted backgrounds can negatively affect the design. Here’s how to ensure only your motif is printed:
Using Photoshop with Remove Background Tool (Quick Action):
-
- Found in the Properties Panel.
- Uses Adobe's AI (Adobe Sensei) to automatically remove the background with minimal effort.
- Best for straightforward removal needs and saves time.
Using GIMP:
- Rename the background layer to enable editing.
- Ensure the image is in RGB color mode.
- Add a new transparent layer below the original layer.
- Use the fuzzy select tool to delete the background.
- Export the file as PNG.
Additional Considerations for Printing
-
Avoiding Issues with Transparent Gradients
For color transitions at the edges, use tools like "speckle" or "dither" in your graphics program to prevent the white base layer from showing on dark products. -
Color Differences Between Screen and Print
Designs are printed in CMYK mode, while screens display in RGB mode. To minimize color discrepancies, increase the contrast and boldness of your graphic before uploading.
Quick Tips for Success
- Always upload high-resolution graphics (200 dpi minimum).
- Use PNG format for transparency.
- Double-check colors and contrast for optimal print quality.
For more information on preparing your designs, check out our detailed guide on color differences between monitors and printed materials.